Apple-Blackberry Pie
Apple-Blackberry Pie Recipe
No technical jokes here about iPhones and PDAs, just sharing a favourite recipe that I’ve been honing over the years. It’s the last day of my holidays, back to work tomorrow, and I thought I’d get more baking done than I did, but at least I did manage to get two pies in the oven.
Make the crust first, it needs time to rest in the fridge. The crust is one of my mom’s recipes.
Best Pie Crust Ever (makes 2 crusts)
- 3 cups whole wheat bread flour
- 1½ teaspoons salt
- 1 cup cold, hard butter
- ¾ cup cold water
Mix flour and salt. Cut in butter until mixture is the consistency of coarse meal. Add cold water and mix until it holds together. Form into two balls and refrigerate for at least an hour while you make the filling. Once the filling is prepared, preheat the oven and roll out the dough.
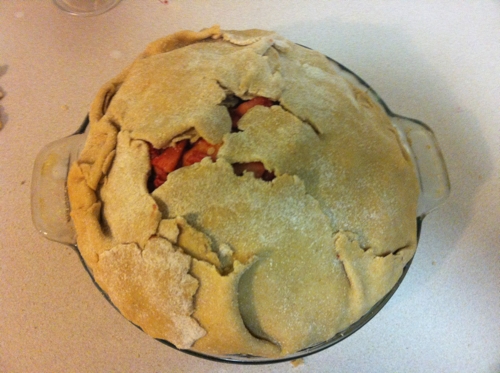 The crust doesn’t have to look perfect
Apple-Blackberry Pie Filling (makes 2 overfilled pies)
- 12-16 Large crisp Granny-Smith apples, peeled and sliced very thin
- 1 package frozen blackberries
- ½-¾ cup brown sugar (depending how sweet you like your pie)
- ¼ teaspoon salt
- 3 Tablespoons quick tapioca
- ½ teaspoon cinnamon
- ¼ teaspoon nutmeg
- 2 Tablespoons lemon juice
- 1 cup walnut pieces
Pre-heat the oven to 450°F.
The keys to this pie are to slice the apples very thin, and the tapioca to absorb excess liquid (which also provides beautiful blackberry-coloured pearls in the pie). Mix all the ingredients (both kids help me with coring and slicing apples, which makes that process go much faster). Once you have the filling ready, you can start rolling out the crusts.
I used to go with a criss-cross crust, which I still think is a bit more elegant and aesthetic. But then I saw the “rustic tarts” down at Granville Island Market, which are simply dough folded roughly around the filling. There are a few advantages to this: 1) I can roll a single dough out thin and get a pie out of it (criss-cross requires 2 crusts worth of dough), 2) it holds juices in better around the edge so I can pack in more filling (I likes me a big pie), and 3) it’s slightly quicker and easier to finish (much easier when you factor in only rolling out half as many crusts). So we go with the rustic crust these days.
 The crust doesn’t have to look perfect
Clear and clean a large surface. Flour the surface and rolling pin well. Don’t worry at all about rolling out the dough in an even circle. First, whole wheat dough won’t really do that, and second, the trailing arms of dough will make for a nice cover. Try to it out so that the inner surface of the pie pan has no breaks in the dough, but if there are breaks, you can fill them in by tearing off bits from elsewhere and glueing them in with a little milk.
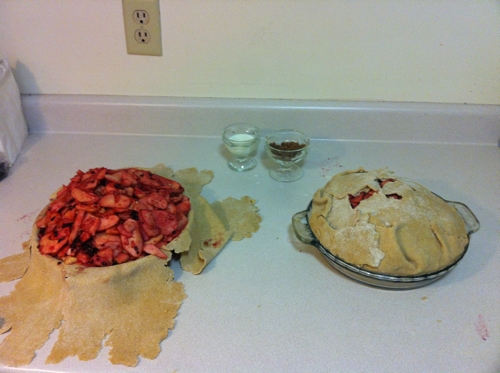 Small dishes of milk and cinnamon-sugar stand ready
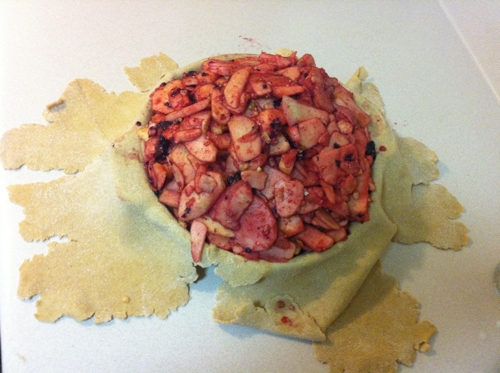
Once you have dough in both pie pans, fill them with the apple-blackberry mixture. It should be hard to keep it all in each pan (you’ll have to use your hands to pat it into place). Then fold up the arms of crust to make a cover. The goal here is to have a good seal around the lower pie, to keep juices in, but to have plenty of ventilation in the upper crust for steam to escape. Any tears along the lower area can again be filled with excess dough and your fingers dipped in milk. If you go overboard and really cover the pie, make sure to add some slits in it for the steam.
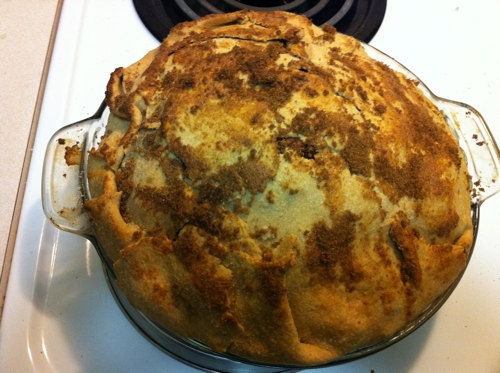
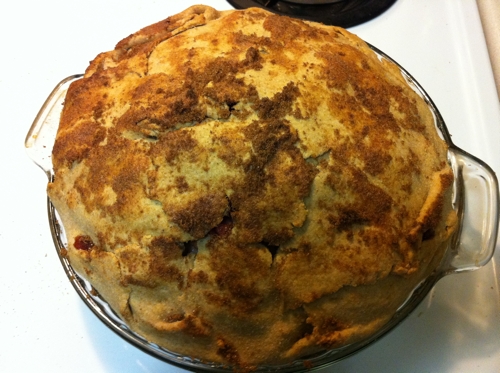
Just before putting the pies in the oven, dip your fingers in milk and pat across the top of the pie, then sprinkle (or rub, to keep it from falling off) a mix of brown sugar and cinnamon (a tablespoon of brown sugar and ½ teaspoon of cinnamon should be about right to cover both pies. This will caramelize as they cook. You can also dot the upper crust with dabs of butter, but I forget to do this half the time and it doesn’t seem to hurt.
Place the pies in the oven on the middle rack, with some foil underneath in case there are any drippings despite your best sealing efforts.
Bake at 450°F for 10 minutes, then turn the heat down to 350°F and bake for another 50 minutes or so, until the crust is nicely browned.
Let the pies cool for half an hour before cutting or they’ll fall apart.
Enjoy!
Post by: Dethe Elza 💜